
Downspout repair: Step by step tricks to repair the downspout leak yourself
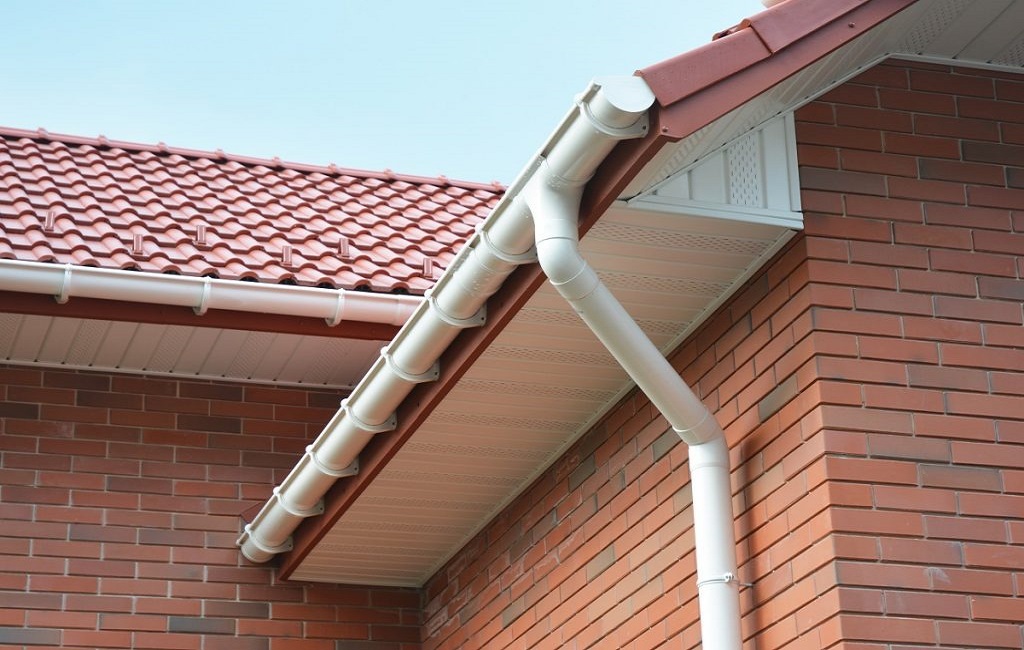
In a building or in a house, the presence of gutters and downspouts that are always clean and in excellent condition is necessary, so that rainwater can be collected and carried away. The functionality of these structures prevents water from falling from the roof, risking staining and damaging the floor or other objects that could be underneath. And, of course, flood the terrace. However, as hydrostatic pressure increases, water could inevitably seep inside the walls of your home, compromising its appearance. This unfortunate inconvenience could put you in a position to be forced to repair the leak or eventually replace the entire downspout. But how to do it? No fear! Let’s find out how to easily repair a leaking downspout. However, taking into account whether our downspout is external or recessed.
You will need for downspout repair:
- Aluminum sealing band
- Cold self-adhesive bituminous sheath
- Bucket
- Soft cloth
- Roller
- Palette knife
- Meter
- Collars
- Joints
- New downpipe
- Glue
- Professional cutter
- Professional elevator
- Hammer
- Chisel
- Stucco
- Plaster
- Spatula
- Sandpaper
- Roller
Use a sealing band
We are faced with a drain outside the building concerned. And in any case with a visible leak and easily accessible from the terrace, without any danger. It becomes even easier to repair a leaking downspout if the point of repair is near the final end of the drain. In this case, we act directly from the ground, repairing the leak without risk. At this point, use a sealing band formed by an aluminum foil accompanied by a cold self-adhesive bituminous sheath and cut it to the desired length.
Repair the leak
Proceed to try to fix the band correctly on the area you intend to repair. Also, to give the band a better grip on the surface, you could use a roller by sliding it back and forth and trying to exert a slight pressure. At this point, use a palette knife to shape the band so as not to create unevenness between the downpipe and the area you have repaired. This way, you will finally have repaired the leaks in your downspout. Keep reading how to evolve snom.
Replace part of the downspout
If you intend to replace part of the downspout because it is in such a state that it cannot be used anymore, you will first have to take the measurements of the section of the downspout in question: the diameter and length. In addition, you should also work towards the purchase of collars or joints that will have to be hooked to the ends of the downspout. Next, cut out the worn part of the old channel and use glue to glue the new one. Finally, wait a few days for the glue to dry everything, then attach the collars.
Repair or replace a recessed downspout
If, on the other hand, the leaking downpipe is embedded in the wall of the building, the work is much more complicated. First of all, the point of the loss must be identified with appropriate essays. These are investigations that involve the breaking of the wall in which the strong humidity coming from the damaged internal rainwater is manifested. Once found, the wall must be broken further to work properly. After carrying out the repair or replacement, as explained above, masonry work is required to close the wall. You can proceed by using the appropriate materials and tools, such as putty and plaster, to be used with the spatula. After drying, level the wall with sandpaper.
It is best to hire a specialized firm. But if you are a DIY expert, you will need a professional elevator to reach the top of a leaky downspout. It can be rented at a daily rate from a company in the sector.